Creating/Transitioning a New Location in Cloud VMS
How to Set Up Locations
2024-05-10
Version 2.0
Locations allow for easy organization of your cameras. This guide will show you how to set up a location.
1. Select Locations.
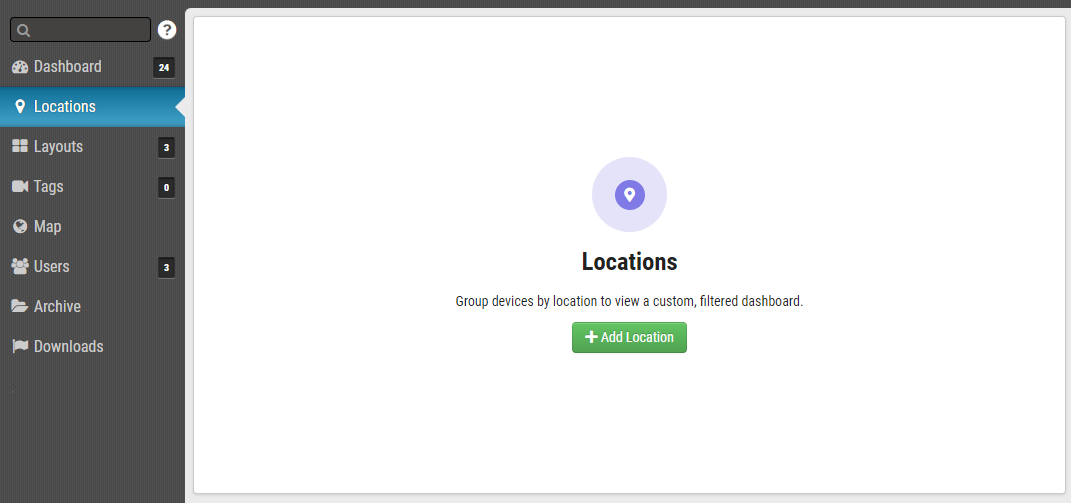
2. Click Add Location.
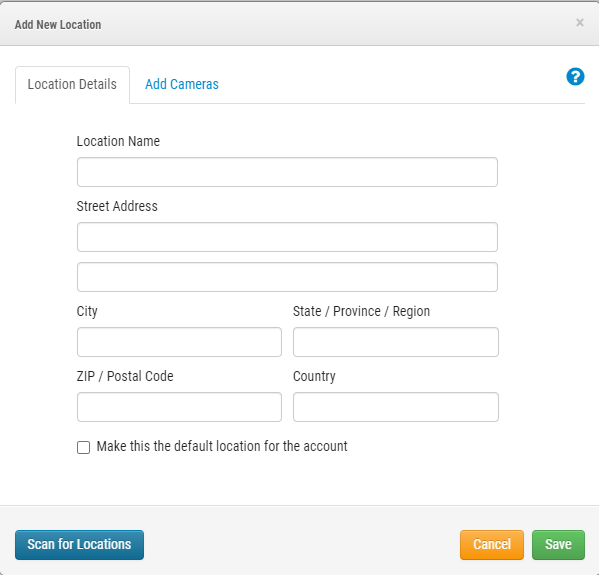
3. Fill out the fields.
4. Click Save.
5. Select Dashboard.
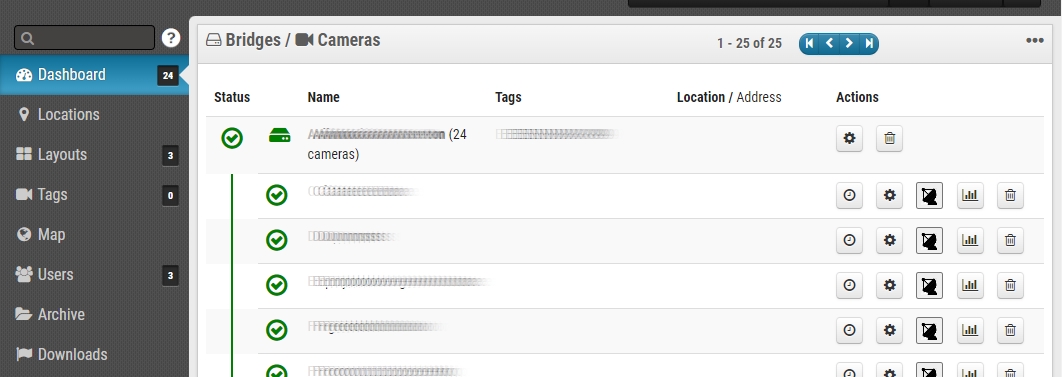
6. Click the Settings icon in the Actions section for the Bridge.
7. Select Location.
8. Select the location from the Location Type drop down menu.
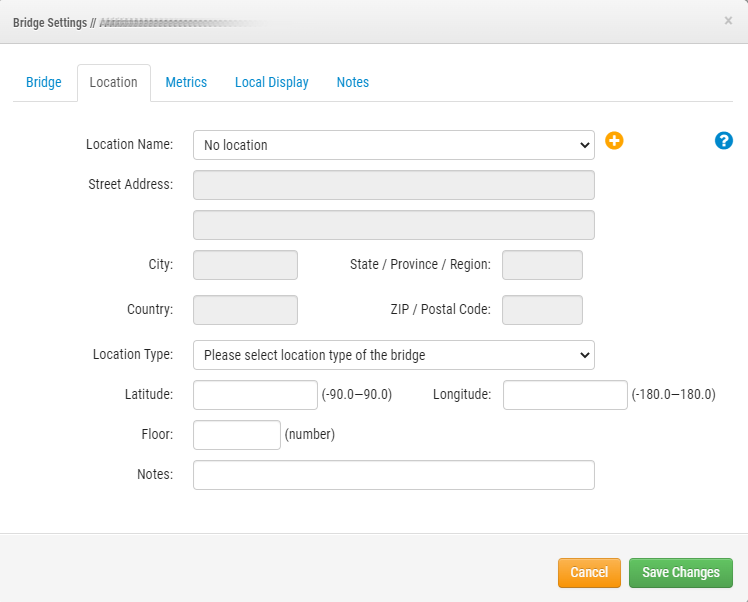
9. Click Save Changes.
You can now view the Location’s cameras in the Locations section of the Dashboard.

For support please email: support@een.com
or give us a call at: 512-473-0501
US: +1-512-473-0501
EU: 31 (0) 20 26 10 461
ASIA PACIFIC: +81-(3)-6869-5477
#1 In Cloud Media Video Surveillance Worldwide
Copyright Eagle Eye Networks. All rights reserve
Related Articles
EE AN030 How to Implement Locations in the Eagle Eye VMS
Eagle Eye Application Note - AN030 How to Implement Eagle Eye Networks Locations How to Implement Eagle Eye Networks Locations Click the banner to view the full Application Note. This Application Note is intended for both Resellers and End Users of ...EE AN043 Eagle Eye Cloud VMS Editions Explained in Detail
EE AN043 Eagle Eye Cloud VMS Editions Explained in Detail QL Stream Click the banner to view the full Application Note. This Application Note is intended for resellers and end users who require enhanced features offered by our Professional and ...Eagle Eye's CLI Tool For Enterprise Accounts
Eagle Eye Network’s CLI Tool For Enterprise Accounts 2025-10-01 Version 1.0 Why Use Eagle Eye’s CLI Tool? The Eagle Eye Networks Command Line Interface (CLI) is engineered for our most technical users who demand speed, precision, and efficiency at ...Cloud VMS FAQ
Cloud VMS FAQ 2024-05-28 Version 2.0 Description How do I add a bridge? 1. Click the elipsis icon on the top right corner of the screen. 2. Enter the Attach ID found in the paper slip within the box of your new bridge. Name the bridge and it will now ...New Installation
New Installation 2024-10-03 Version 2.0 Description Eagle Eye Networks systems are set up as DHCP by default which makes installation a breeze. If the customer requires the system to be set up statically it is easy to make that change as well. Here ...