Configuring SSO via the Enhanced Web Interface: Microsoft Azure
Configuring SSO via the Enhanced Web Interface: Microsoft Azure
2025-05-07
Version 1.1
If you don't have an account in Azure AD, you can register for a free account here: https://azure.microsoft.com/
Obtain the redirectUri for the account by adding your account ID at the end of the below redirectUri:
https://auth.eagleeyenetworks.com/login/oauth2/code/<account ID>

Log in to the Azure console (https://portal.azure.com/#home) and navigate to Manage Microsoft Entra ID (previously known as Azure ID).
Go to App Registrations in the left panel and create a new registration.
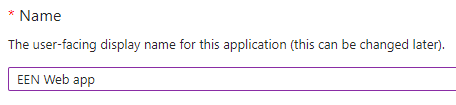
Provide the following information under the Register an Application wizard:
Name the application.
Set the Supported Account Type to Accounts in this Organizational Directory Only.

Use the redirectURI as obtained in Prerequisites.

On the Application Overview screen, create a client credential using the
Add a Certificate or Secret option.
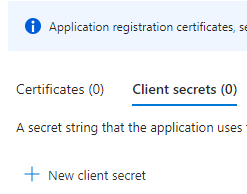
Click New Client Secret.
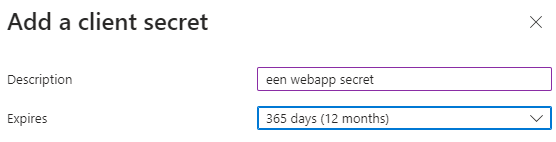
Enter a description of the secret and an expiration date.
Copy the Value field to a text file and save it.
IMPORTANT: This is the Client Secret cannot be retrieved again after leaving the screen.

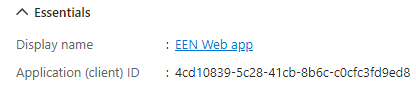
You can find the Application (Client) ID on this screen as well.
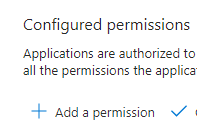
Navigate to the API Permissions on the left panel and select Add a Permission.
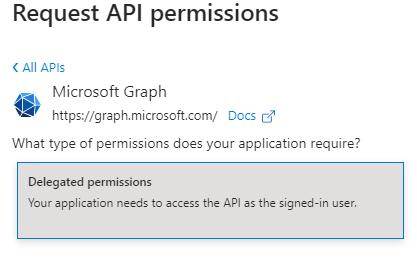
Select the Microsoft Graph API.
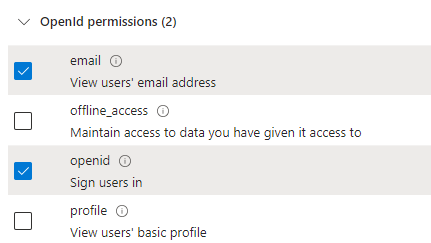
Add Email and OpenId permissions.
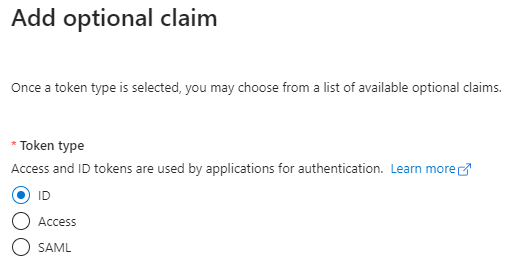
Navigate to Token Configuration from the left panel and click Add Optional Claim.
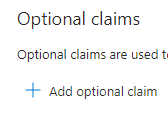
In the Add Optional Claim wizard, select Adding verified_primary_email is optional.
You can also update the consent page using the "Branding & Properties" tab in the left panel.
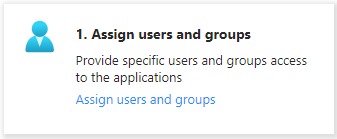
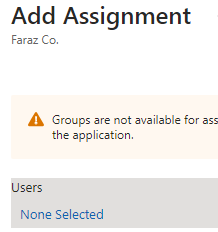
Assign users to the application. Navigate to ”Home > Manage Microsoft Entra ID > Enterprise Applications” and select your application. Go to "Assign Users and Groups" and assign users as shown below to the application.
Use the instructions in this section to configure the organizational Microsoft SSO.
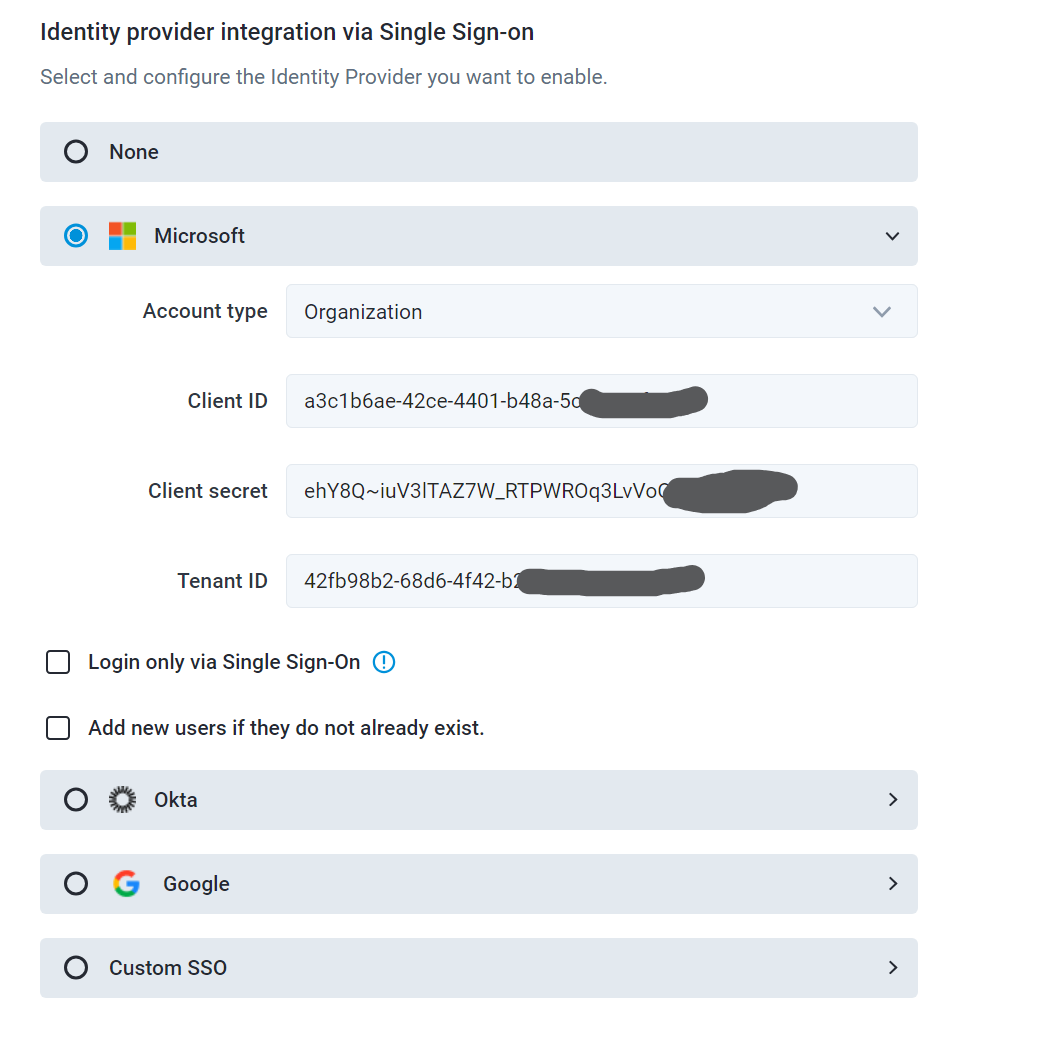
1. Update the "Client ID" (Application (client) ID) and "Client Secret" with values you got from the Azure AD application created in Prerequisites.

SP initiated SSO flow:
Test logging in to the application:
Provide a non-admin user account at the identifier-first page.
Login with Azure AD and provide consent.
 Ensure you have the same user on the Azure AD side.
IDP-initiated SSO flow,
Update the homepage URL in Branding & Properties as follows:
https://auth.<domain-branding>/sso?issuer=<registration-id>&target_link_uri=<webapp-url>.
domain-branding can be eagleeyenetworks.com, mobotixcloud.com, etc.
registration-id is your account id. This is found at the end of redirectUri.
 webapp-url can be https://webapp.eagleeyenetworks.com (Based on the domain branding you can use different values for this. Make sure values are URL encoded.)
Then navigate to the Enterprise application tab as previously done and select your application
Click Manage.
Select Properties.
Update Visible to users to Yes.
IDP initiated SSO flow:
Go to https://myapplications.microsoft.com?tenantId=<tenant-id>.
Log in with a user from your EEN account.
Click Your Application.
You should be redirected to your application for sign-in.
Select Add new users if they do not already exist.
Click Save Changes.

IDP initiated SSO with auto user provisioning flow:
Test logging in to the application:
Go to https://myapplications.microsoft.com?tenantId=<tenant-id>.
Log in with a user that does not have an EEN account.
Click Application.
You should be redirected to the application and auto-provisioned.

For support please email: support@een.com
or give us a call at: 512-473-0501
US: +1-512-473-0501
EU: 31 (0) 20 26 10 461
ASIA PACIFIC: +81-(3)-6869-5477
#1 In Cloud Media Video Surveillance Worldwide
Copyright Eagle Eye Networks. All rights reserved.
Related Articles
Microsoft Azure SSO Integration: Classic WebApp
Microsoft Azure SSO Integration 2025-05-07 Version 2.1 Description This guide is for configuring the integration of Microsoft Azure with an Eagle Eye VMS account. There are a few prerequisites before the account can utilize the feature: The Reseller ...Configuring SSO via the Enhanced Web Interface: Okta
Configuring SSO via the Enhanced Web Interface: Okta 2025-05-07 Version 1.1 Description Single Sign On allows Users to easily log in to all their applications with the same credentials. Eagle Eye Networks supports the use of SSO applications for the ...EE AN022 Configuring SSO in the Eagle Eye Cloud VMS Enhanced Web Interface
EE AN022 Configuring SSO in the Eagle Eye Cloud VMS Enhanced Web Interface SSO Configuration Click the banner to view the full Application Note. This application note is intended for users of the Eagle Eye Cloud VMS, and specifically those using the ...EE AN014 Implementing SSO in the Eagle Eye Cloud VMS
Eagle Eye Application Note - AN014 Implementing Single Sign-On (SSO) in the Eagle Eye Cloud VMS Single-Sign-On Click the banner to view the full Application Note. This Application Note is intended for Resellers of the Eagle Eye Cloud VMS whose ...EE AN023 Smart Video Search in the Enhanced Web Interface of the Eagle Eye Cloud VMS
EE AN023 Smart Video Search in the Enhanced Web Interface of the Eagle Eye Cloud VMS Video Search Click the banner to view the full Application Note. This Application Note is intended for all end users of the Eagle Eye Cloud VMS who have a need to ...